How to Create an Individual Profile
Last updated:
Sep 28, 2025
1 min
You can view and edit all profiles created on HotelRunner PMS by navigating to PMS > Guest Relations > All. Additionally, you can add a new profile independently of any reservations.
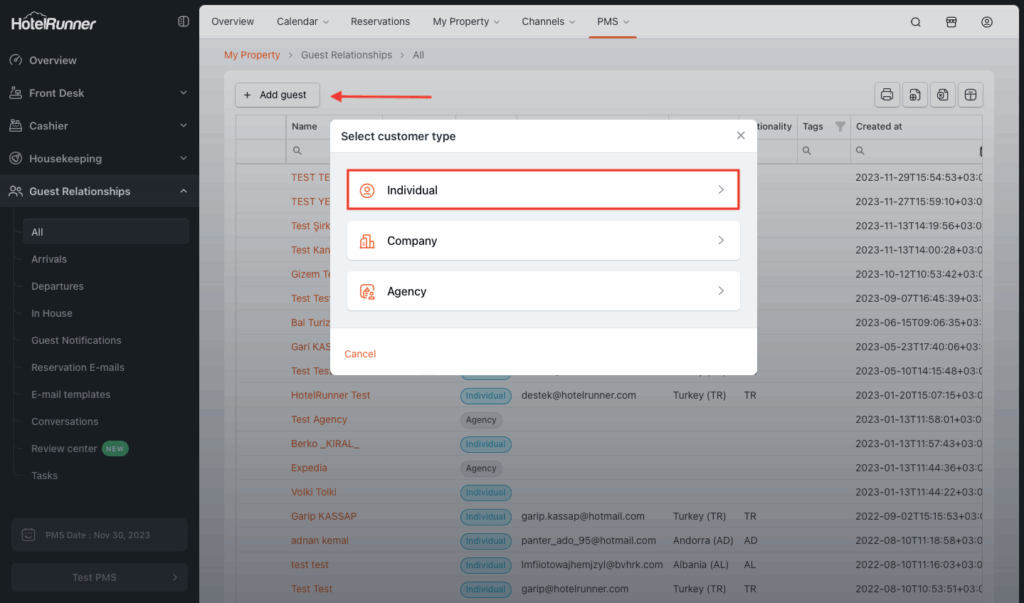
1. Access the Individual Profile Creation Screen
- Click the Add guest button, then click the Individual button.
2. Complete Basic and Contact Information
- Navigate to the Basics section of the Add guest screen.
- At a minimum, enter the First Name and Last name (required for profile creation).
- Optionally, fill in: Salutation, Title, Guest Type, E-mail, Phone, and Vehicle Plate.
- Use the Tags field for internal notes.
- In the Communication channels approved within the scope of GDPR field, check the boxes to record the guest’s consent for specific communication methods.
3. Enter Identification Details (Optional)
- In the Identification section, enter details like ID Type, National ID, Country, Nationality, Birth Date, Issuer, and Gender.
4. Define Residence Address
- In the Address Information section, enter the profile’s residence details: Country, Province, City, ZIP/Postal Code, and Street Address (via free text entry).
5. Define Billing Address and Account Details
- In the Billing Address section, select the Receipt Type as Individual or Company.
- Based on the selection, enter the required Name/Surname or Company Title, along with Tax Office and Tax ID.
- Fill in the invoice address details: Country, Province, City, ZIP/Postal Code, Address, Phone, and Fax.
- Optionally, add the Receipt / Accounting E-mail Address and Accounting ID.
- If the profile will be used for Accounts Receivable tracking, check the box in the Receivable Account field.
6. Save the Profile
- Click the Save button to finalize and save the Individual profile.