How to create a company profile
Last updated:
Jan 20, 2026
1 min
You can view and edit all profiles created on HotelRunner PMS by navigating to PMS > Guest Relations > All. Additionally, you can add a new profile independently of any reservations.

1. Start Creating the Profile
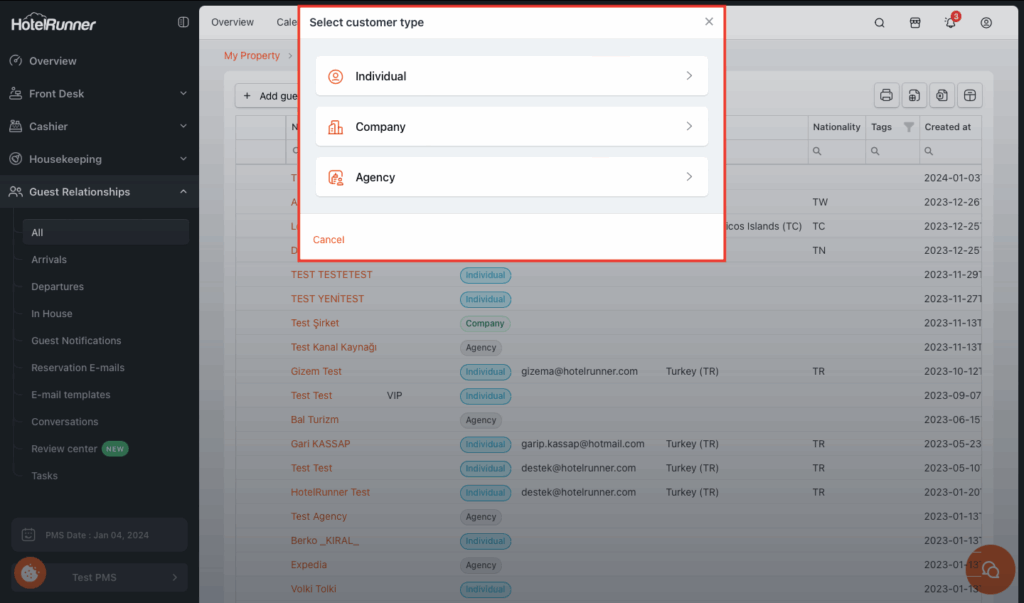
- First, click the Add guest button and then the Company button.
- In the Basics section of the Add guest screen, you can add the general information.
- To create a profile, it will be sufficient to add the Company Title information at a minimum. You can click Save at this stage or continue filling in the optional fields.
2. Fill in the Basic Information Fields
- Company Name: Define the company name of the profile.
- Guest Type: Add the guest type. (These are created during installation.)
- Segment: Add the segment information. (These are created during installation.)
- E-mail: Add the e-mail address.
- Phone: Add the phone number.
- Tags: Assign a label. The free text input here is displayed on the profile screen for specific notes.
3. Enter Address Information
In the Address Information section, enter the physical location of the company:
- Country: Select the country where the profile is located.
- Province: Select the province where the profile is located.
- Municipality: Add the district where the profile is located.
- ZIP/Postal Code: Add the postal code.
- Street Address: Enter the full street address using free text input.
4. Define Billing Address and Tax Details (Start)
In the Billing Address section, you can add invoice information to manage billing on behalf of this company:
- You can define two different billing addresses as Individual and Company as the Receipt Type.
- If Company is selected, the Company Title is required. If Individual is selected, the Name and Surname are required.
- Company Title (for Company Receipt Type): Add the desired company title.
- Tax Office: Add the tax office information.
- Tax Number: Add the tax number information.
5. Define Billing Address (Cont.)
This covers the remaining fields within the Billing Address section:
- Name (for Individual Receipt Type): Add the individual’s invoice first name.
- Surname (for Individual Receipt Type): Add the individual’s invoice last name.
- Country, Province, District, Postal Code: Add the necessary location details for the invoice address.
- Address / Address (continued): Enter the full street address for billing.
- Phone / Fax: Add the contact information for the billing department.
6. Accounting and Receivable Details
- Receipt / Accounting E-mail Address: Add the email for sending invoices or general accounting correspondence for the individual or company.
- Account ID: Add the special invoice account code if required.
- Receivable Account Active: Check this box if the profile will be used for tracking accounts receivable (City Ledger).
7. Complete and Save the Profile
- After verifying all the information, click the Save button to finalize and save the Company profile.